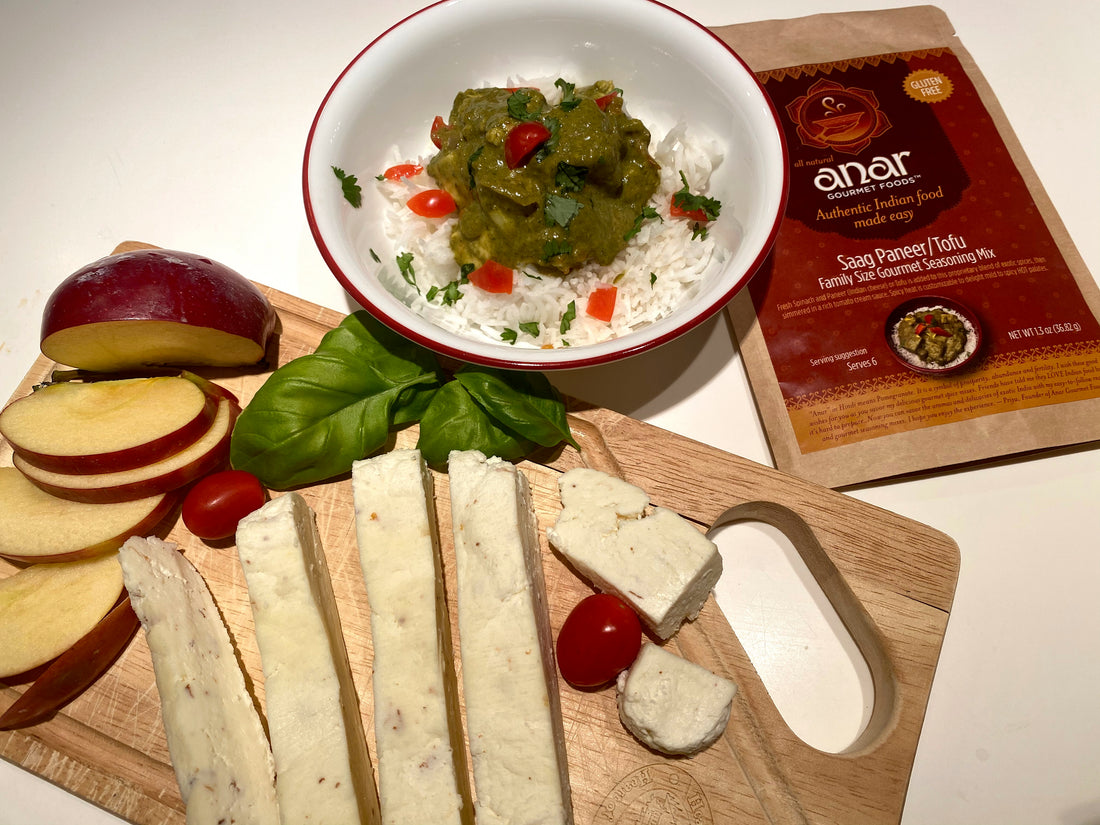
Homemade Paneer (Indian cheese) Recipe
Priya OsuriShare
I just love this yummy homemade Paneer recipe. Even though, I’m lactose intolerant, I feel this creamy Indian cheese (Paneer) recipe is certainly worth popping a lactose free pill. It tastes fresh and creamier than the store-bought Paneer.

The store-bought Paneer is a little denser, so it may hold up a little better to stove heat for my delicious Saag Paneer dish. (Check out products tab for a description of my gourmet all natural, gluten free seasoning mix). If you do make homemade paneer and want to use it with my Saag Paneer seasoning, gently fold it in at the very end of cooking the spinach. This is a simple recipe but there are a few nuances that you need to keep in mind for it to come out well. What’s really nice about this recipe is that you can eat it as an Hors d’oeuvre with crackers or served with fresh basil, grape tomatoes for a fusion Indian twist.
Tips:
- You definitely want to use full fat or whole milk. If you use skim milk, the milk will not curdle well. Similarly, don’t use ultra-pasteurized milk as it won’t yield much paneer and it might be dry.
- When adding acidity to make the milk curdle such as vinegar, or lemon, add 2 tablespoons and then add 1 tablespoon at a time up to 5 tablespoons. You could also use ¼ cup of plain yogurt (although I personally haven’t used it) which I’ve heard makes the cheese creamier, but I like to keep it simple and use lemon.
- Cover your colander/strainer with a cheese cloth with an additional 3-4 inches of cheese cloth hanging over the colander. Have it ready, so that it’s easy to drain the milk into the cheese cloth.
- Save the whey, which is the liquid part of the curdled milk. You can do this by placing a big container underneath the strainer. Whey is full of protein and can be used as a base to make many other things such as smoothies, cheeses, dressings and marinade.
Ingredients you need:
8 cups (1/2 gallon) Whole Milk: Please do NOT use ultra pasteurized or skim milk
2-5 tablespoons Lemon juice or Vinegar OR ¼ cup plain yogurt
Colander/Strainer
Cheese Cloth
Recipe:
| 1. Pour the whole milk into a large pot over medium heat. Make sure it is a large pot or if it boils over, it will spill easily onto your stove. Stir frequently in a clockwise and bring the milk to a rolling boil. Make sure the bottom of the milk is not burning and that you are watching it as it boils very quickly. This will take time, so be patient. |  |
| 2. After the milk comes to a boil, start adding 2 tablespoons of lemon juice (I prefer freshly squeezed lemons) one tablespoon at a time up to 5 tablespoons. Keep stirring milk in one direction only so it’s easier for the milk to clump together easily. You’ll see the milk curdle and start to separate from the whey which is light greenish in color. When this happens, stop adding the lemon juice and turn off the stove and remove the pot from the heat. If you don’t see the whey separate after adding tablespoons of lemon juice, let the milk boil for a few more minutes till you see it separate. |  |
| 3. Turn off the stove and set the milk aside to cool slightly for ~ 5 -7 minutes. |  |
| 4. Carefully pour the hot curdled milk into a cheese cloth that is placed over a strainer/colander. If you wish to save the whey, place a bigger container underneath the strainer/colander to catch the whey. When you have poured all the milk out. |  |
| 5. Pour ½ cup-1 cup of cold water over cheese to rinse out the taste of lemon juice while stirring the curdled milk. This also stops the milk from cooking further. Remove the strainer from over the bigger container catching the whey so that the cheese is not sitting in the liquid whey. |  |
| 6. Add ¼ tsp of salt (optional) for taste and mix well. |  |
| 7. Pull the ends of the cheese cloth together, twist it tightly till the curdled milk is wrapped in a tight ball in the cheese cloth. Squeeze out all the liquid carefully, the curdled milk can still be pretty stove hot, so please be careful. |  |
| 8. You can tie the long end of the cheese cloth to your kitchen faucet and let it drain into the sink (optional) for at least 45 minutes. I personally prefer to unwrap the tight bundle of cheese into a ball and re-wrap the cheese into a tight square block. If you drain the cheese cloth on a faucet, you’d still need to do the following process anyway, so I just skip the step of draining it and go right into weighing the cheese down to squeeze out the excess liquid. |  |
| 9. Place the cheese which is still wrapped in the cheese cloth on a plate or clean flat surface. Weigh it down by placing another flat plate such as a cast iron skillet or pot that has a heavy object in it i.e. a heavy jar to squeeze out excess liquid. Leave it in a cool dry place for a minimum of 45 mins to at least 2-3 hours. |  |
| 10. Remove the cheese from the cheese cloth and place fridge. You can cut it into 1” cubes before or after you place in fridge, but I feel storing it in the fridge will help it harden even more. Store it in an airtight container in the fridge anywhere from 4-7 days. |  |

Enjoy Paneer with my delicious Saag Paneer seasoning mix and recipe OR as a fusion Indian Hors d’oeurve in a cheese and cracker platter OR with fresh basil, grape tomato with balsamic vinegar. 😋 😋 😋

